Bye Bye UL, SUL etc

SUL? Mt. Baker RTM gear (95 miles bike/hike)
Although I am no longer a paying member, I regularly check in to the forums over at BPL; there's a lot of experience in those pages. There was recently a discussion on SUL (Super Ultra Light) and the lack of posting activity, which got me to thinking about it. Actually, there have been discussions all over the web about this subject for years. When Jardine's book came out it made a huge difference in my approach to backpacking, and I became very cognizant of weights. But at some point along the way, after cutting my total load to less than 20 pounds, I have put very little thought into gear weights, as the quality of gear is generally good and the weights have lowered over the decades. Been a long time since I puts weights into a spreadsheet or list. I no longer concern myself with useless "base weights".....what does that mean? When you are wearing your clothes, pick up your pack with food and water and that's what you're schlepping. I've even heard of people stuffing their pockets with various gear to keep their "base weight" down.
Base Weight: weight of your entire gear kit, excluding consumables which are food, water, and fuel
Not to be confused with skin-out weight, which means the weight of everything you're carrying AND wearing.
It appears UL is defined as a base weight of 10 pounds or less, and SUL starts at 5. When I put on my pack and start down the trail, my measure of a load is how comfortable I feel over hours, do I have to take off the pack frequently, or does the extra load beyond my body weight interfere with my enjoyment? Now, although I don't own a scale, this doesn't mean I don't pay attention to the published weights of gear I may pick up. In my selection process I look at function first and foremost, then weight along with durability, cost and other factors. I look at volume; how much room does my gear need? How can it be packed for maximum efficiency? What gear do I need during the day? How am I going to carry liquids, how much do I need to carry, do I want to add something like Tailwind to my water, do I need to filter? How much food, cook or not? What temperatures will I deal with on the trip, weather, clothing requirements? Bivy? Tent? 50 degree? 20 degree? Do I even need a sleeping bag or quilt? These are but a few considerations that go into trip planning, and these considerations dictate what gear I will bring on any given event. From there I make my gear selection and pack up. I heft the pack, loaded with food and water, and do a quick assessment. Anything I can cut? Anything I need to add? Nowhere in this process do I consider UL or SUL weights, I have retired these terms from any trip planning I have done in the past 10 years or so, and it seems I am not the only one. The state of the industry has changed tremendously over the past 20 years and perhaps the UL and SUL monikers will be put on the shelf and gather dust, just like Jardine's book, having served their purpose but are no longer needed.
EXAMPLE HIKES

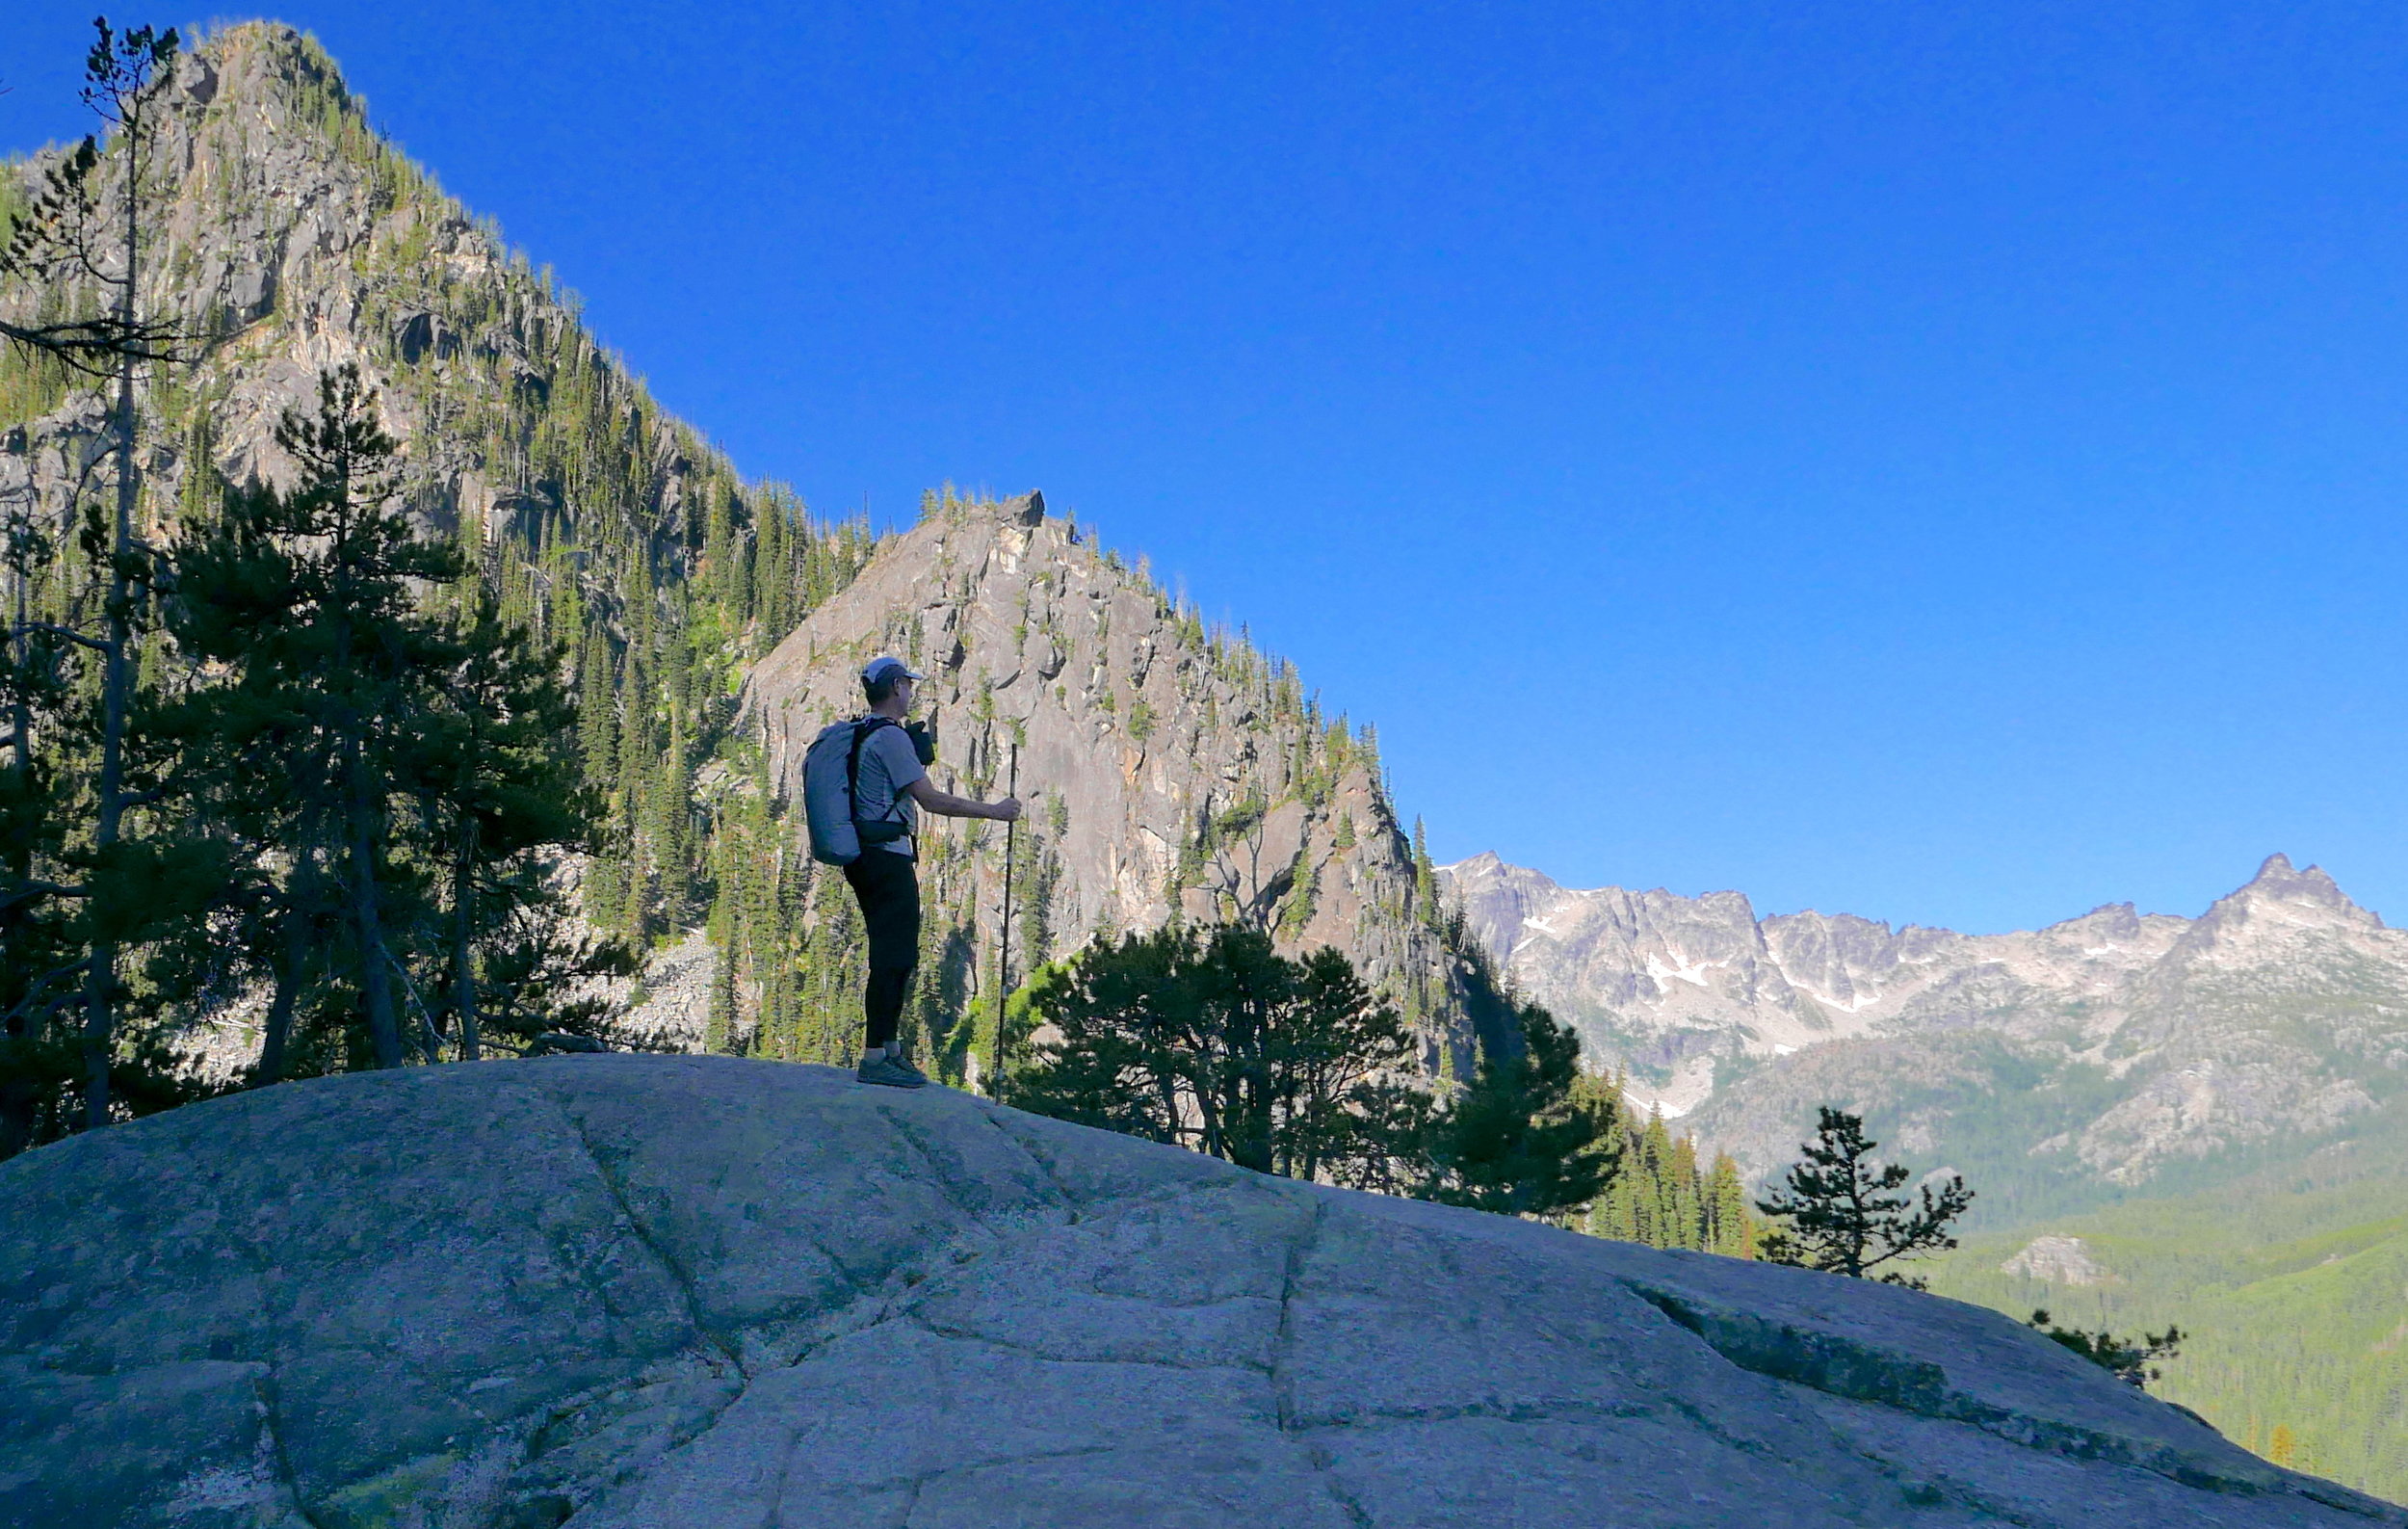
not posed: sagging with UL base weight
For illustration purposes I'd like to offer experiences from two different hikes on either end of the spectrum, yet both are considered UL or SUL according to base weights: An 8 day hike into Washington's Pasayten Wilderness in August of 2014 with my daughter (101 miles), and a Wonderland Trail fastpack (solo, 93 miles) in September of 2015. The Pasayten trip had us carrying 10 days of food with a flexible itinerary. I had a ZPacks Duplex tent, a 9.75 ounce 50 degree quilt, plus other cutting edge light gear. We both used older Gossamer Gear Mariposa packs because they could swallow the gear, especially all the food (full bear canister and Ursack). My daughter likes to eat hot food, so we had the utensils and cookware, albeit super light. However, the packs were weighty, with mine at 35 pounds and hers at 30. But once underway (starting with a 4,000 foot climb), it became obvious that she was struggling with the weight. I repacked, taking all the food, bringing my pack weight to probably just under 40 pounds and reducing hers to less than 30. It was the trip of a lifetime, but I've never suffered so mightily. That older GG pack destroyed me with this load; if I took the weight off my shoulders I had to cinch up the waist belt so tight that I had temporary nerve damage in my legs. When I took the weight on my shoulders I had to pop Advil to deal with the pain. Yet I'll bet that my "base weight" on that trip was 10 pounds or less.
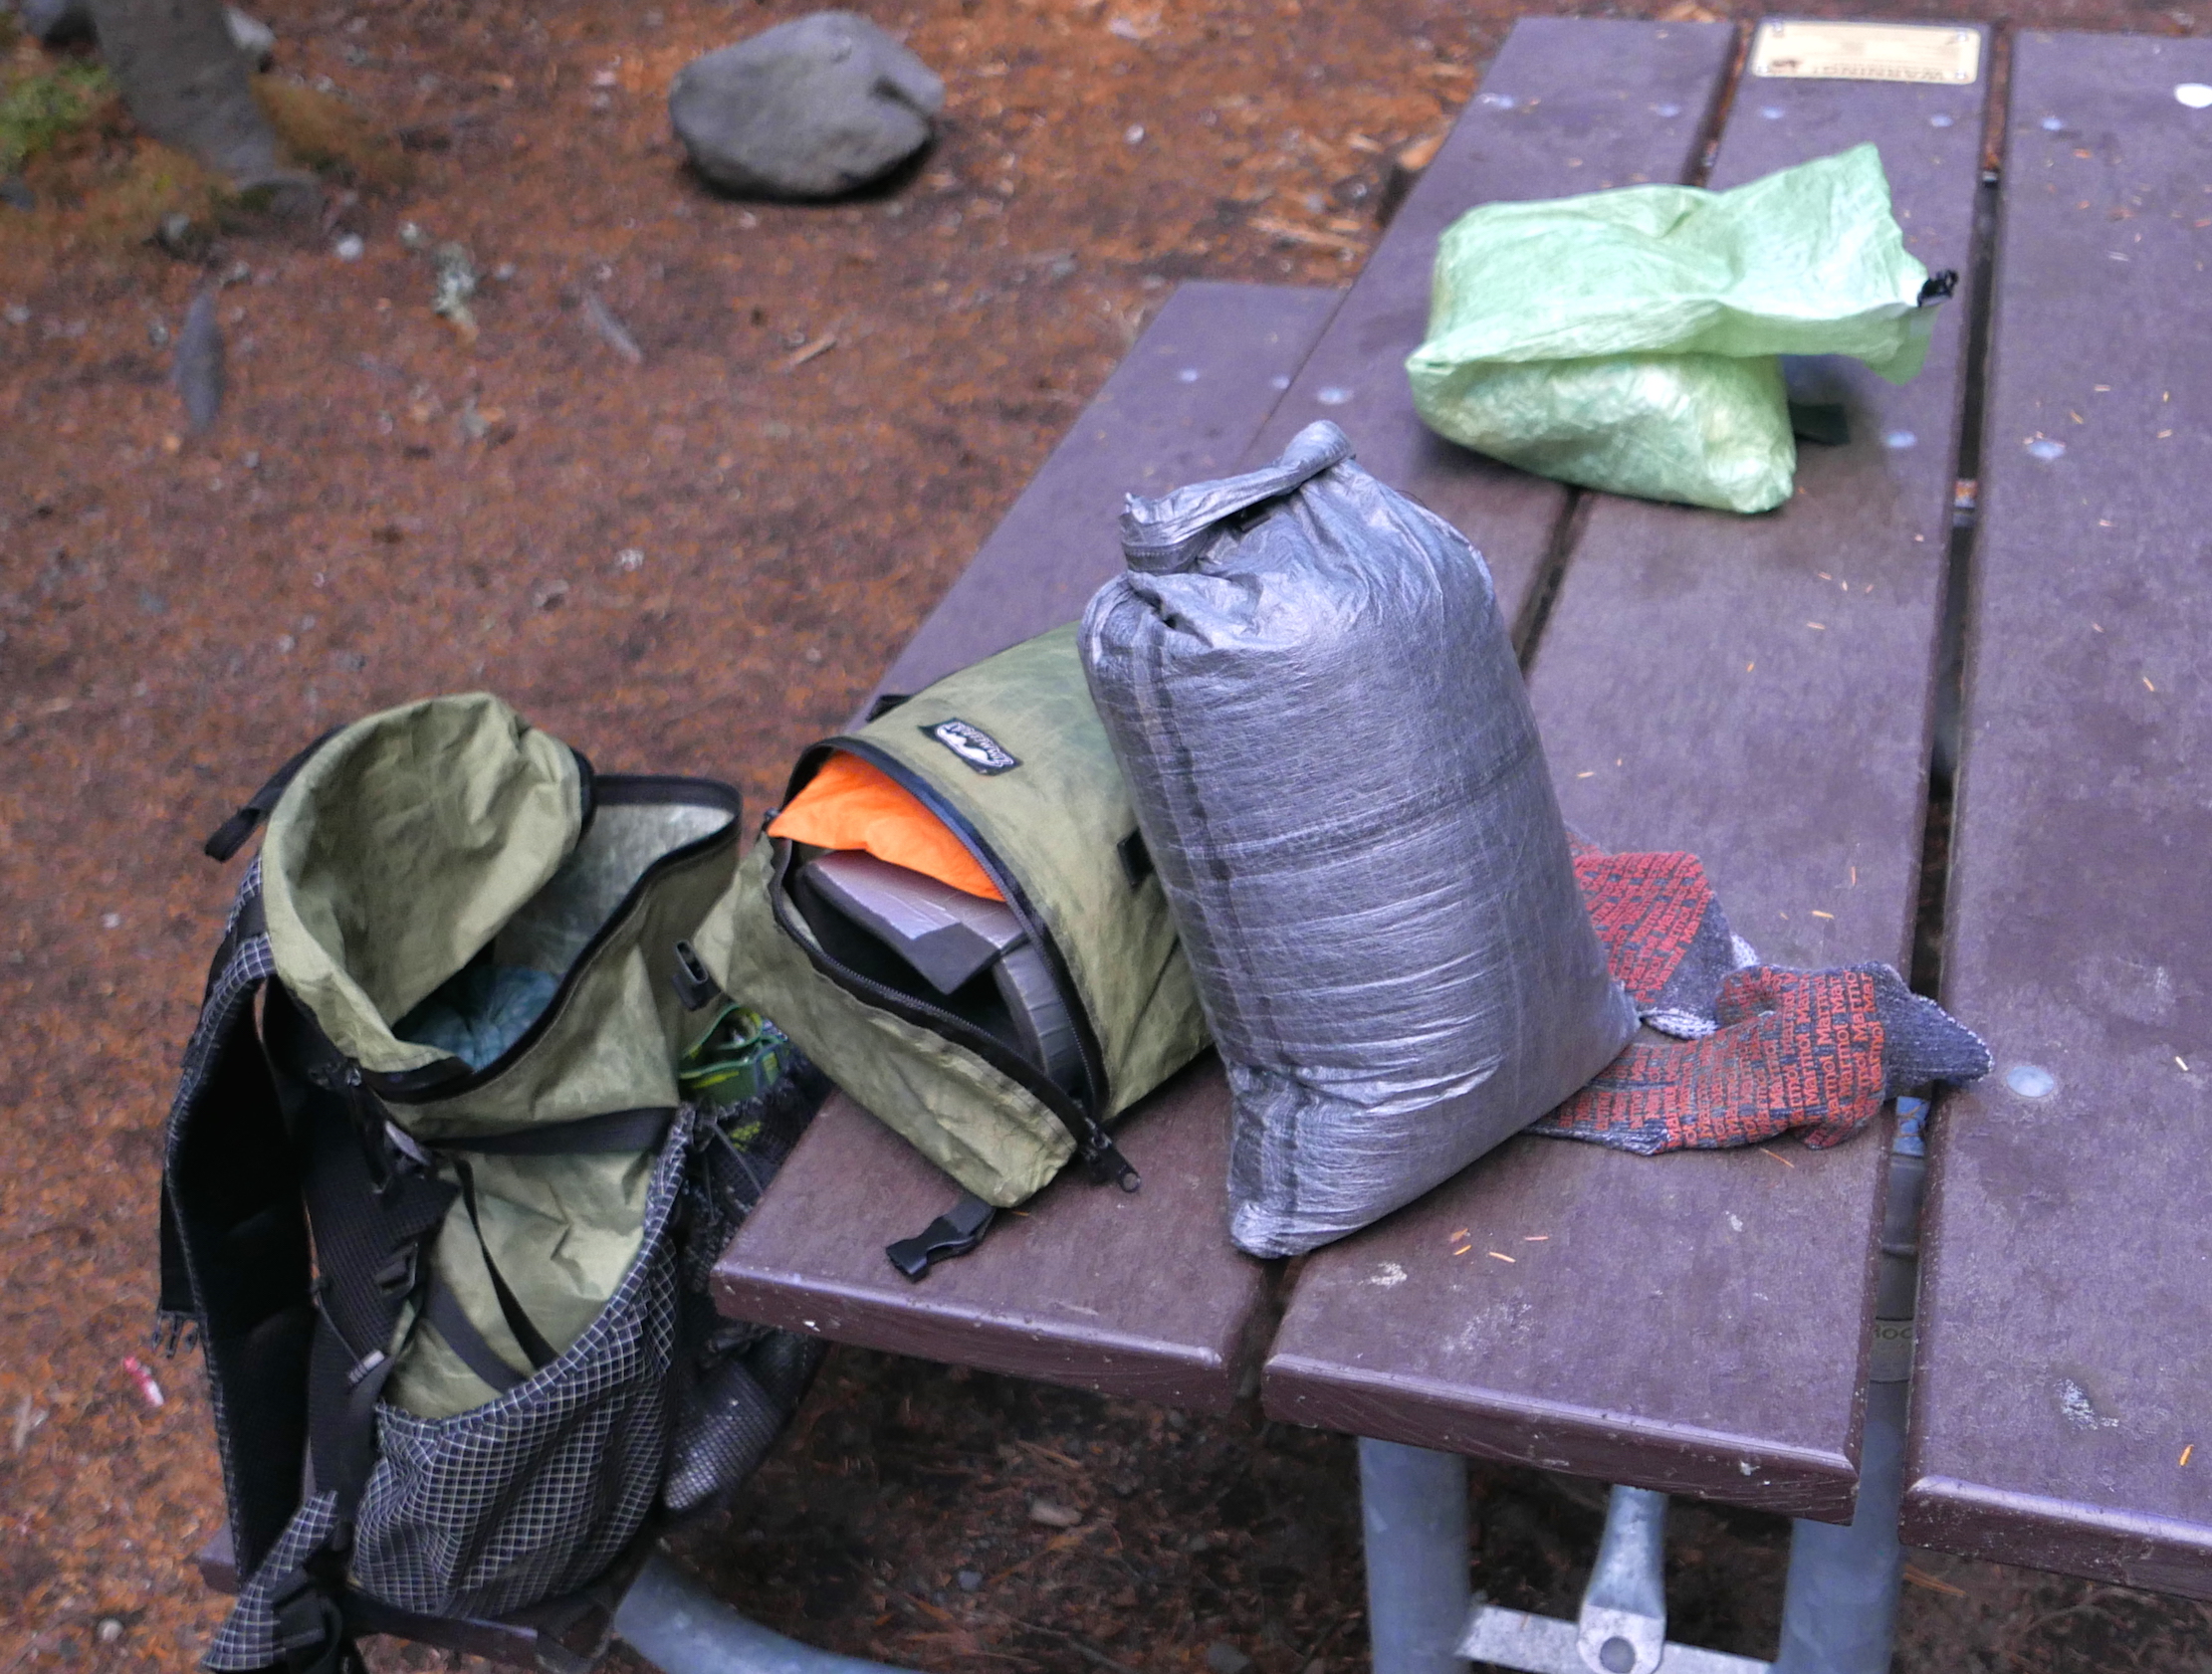
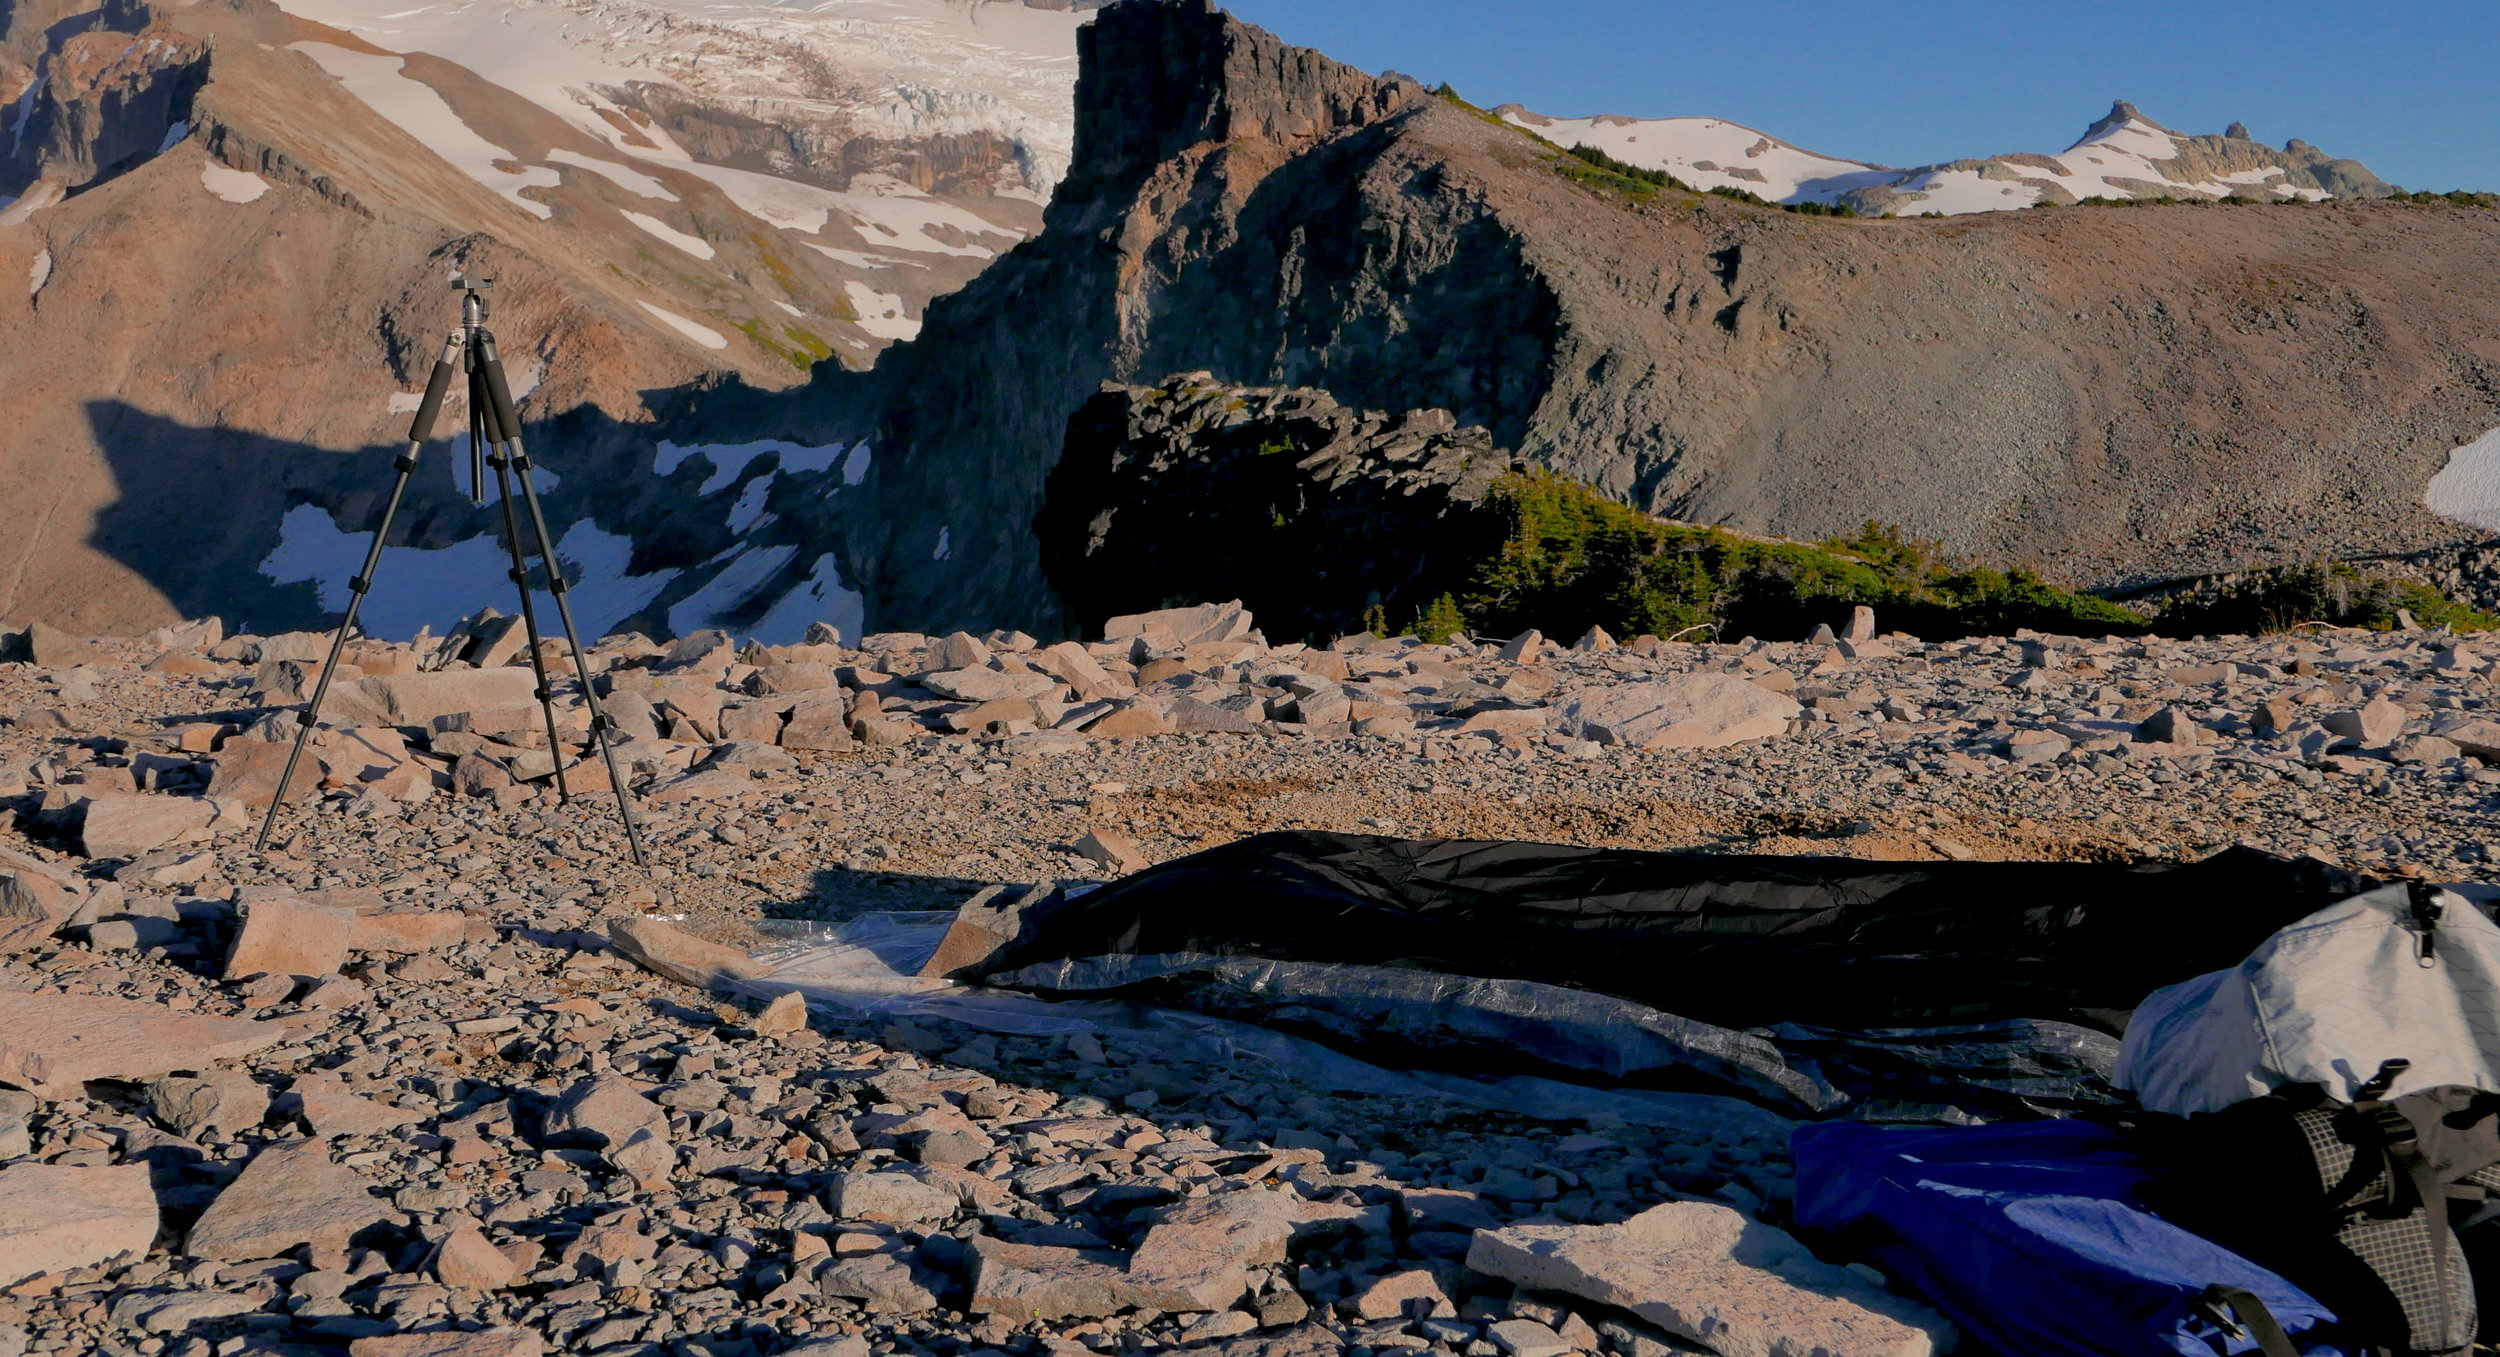
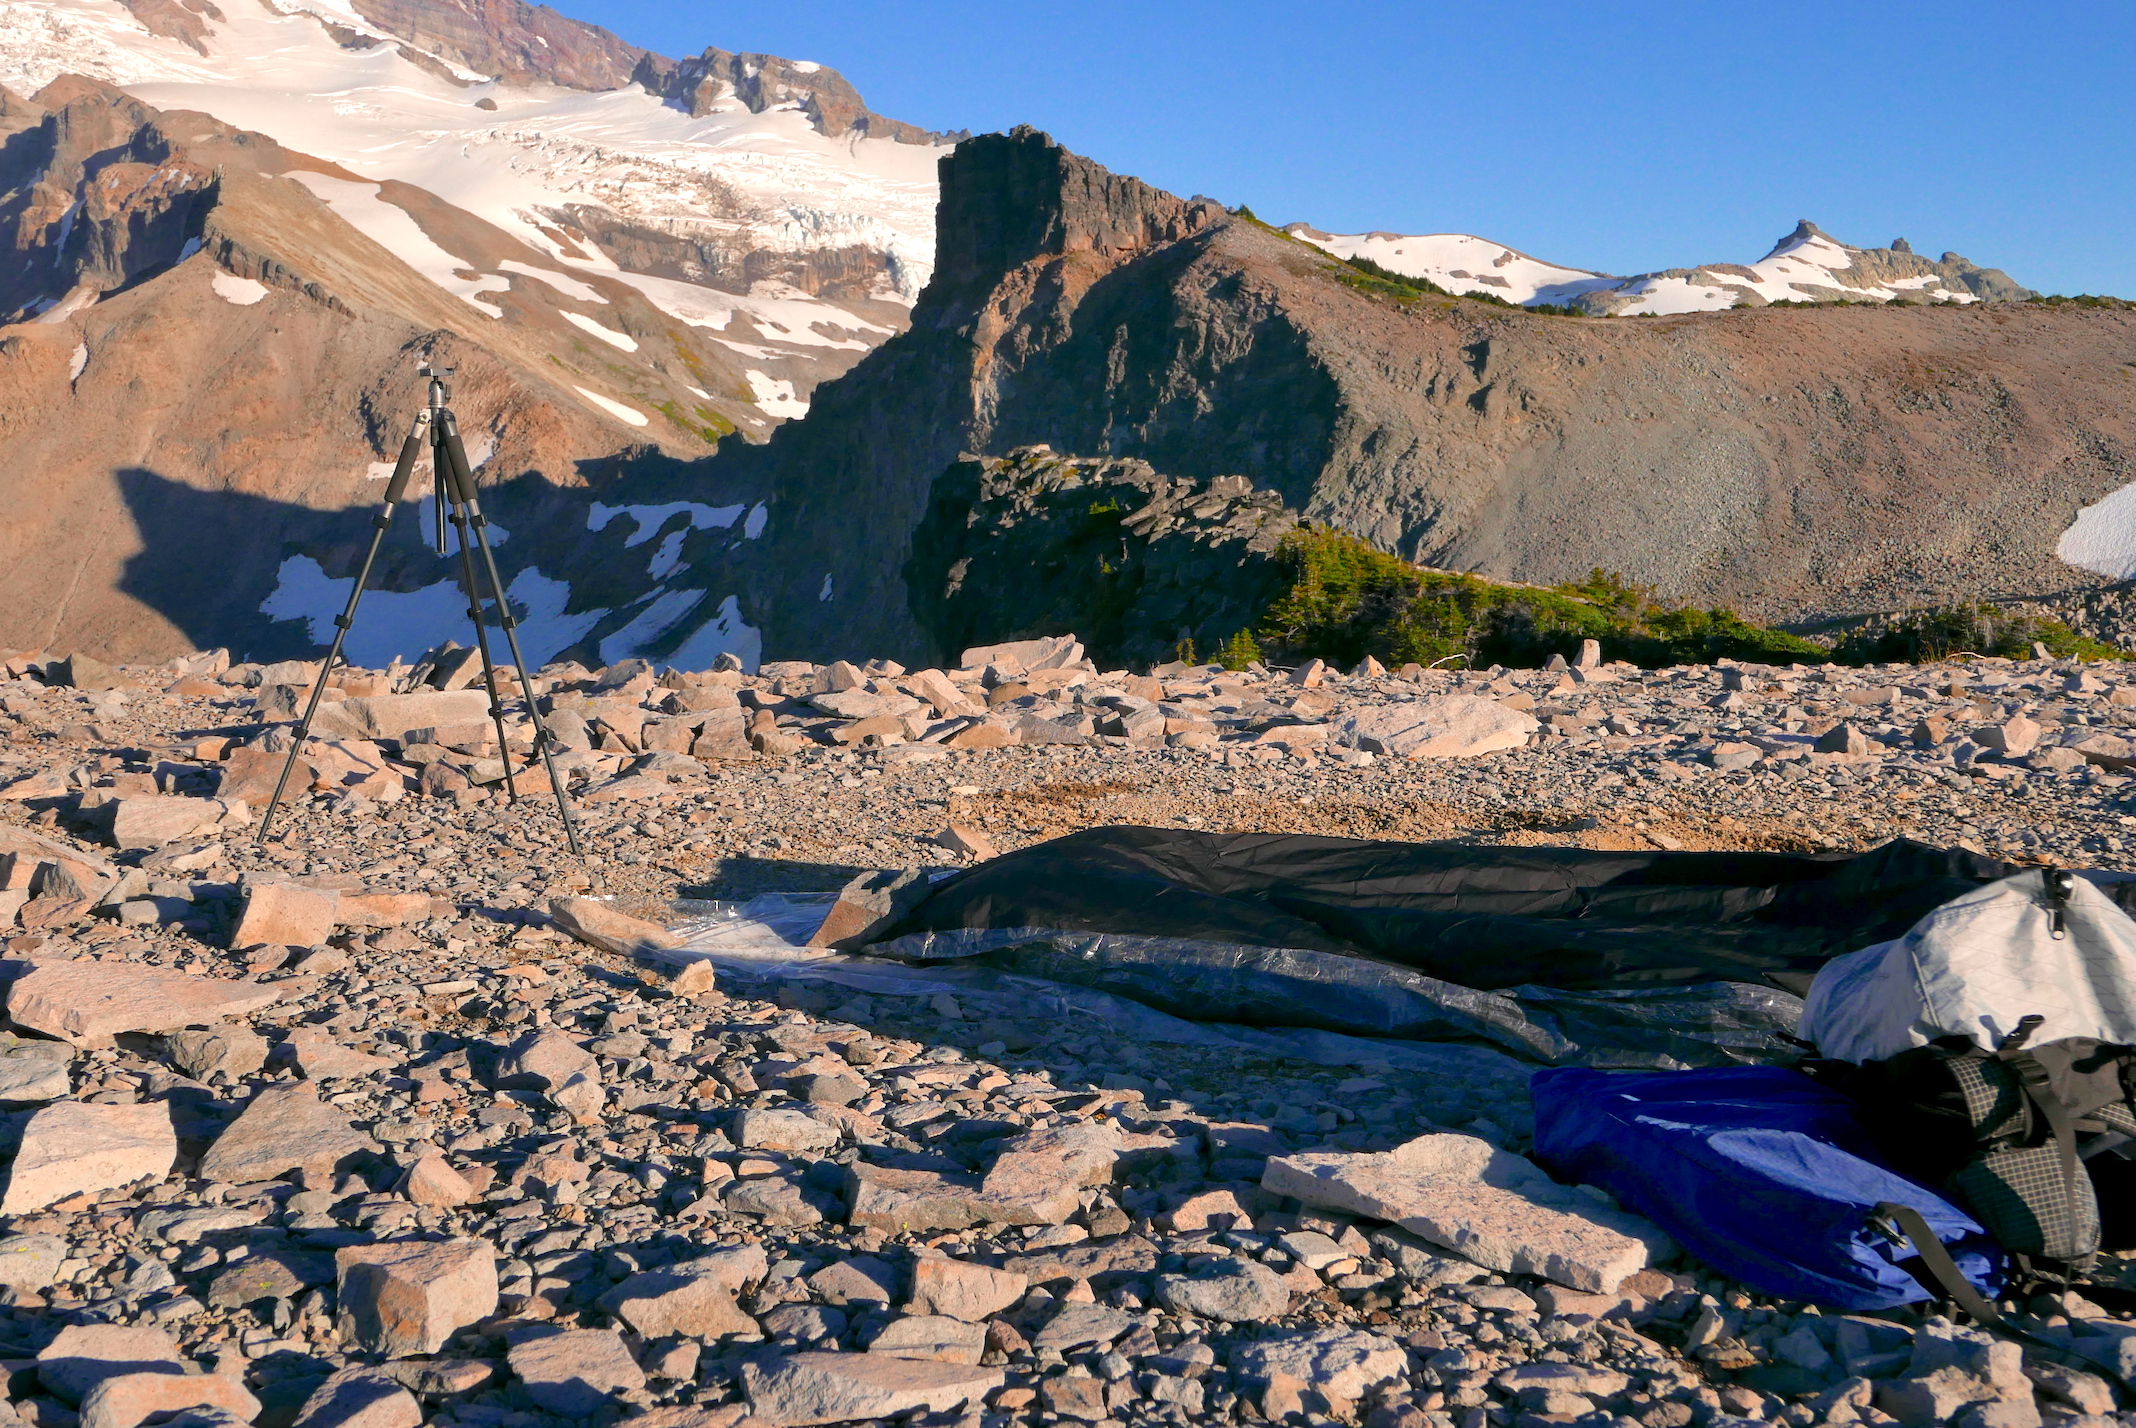
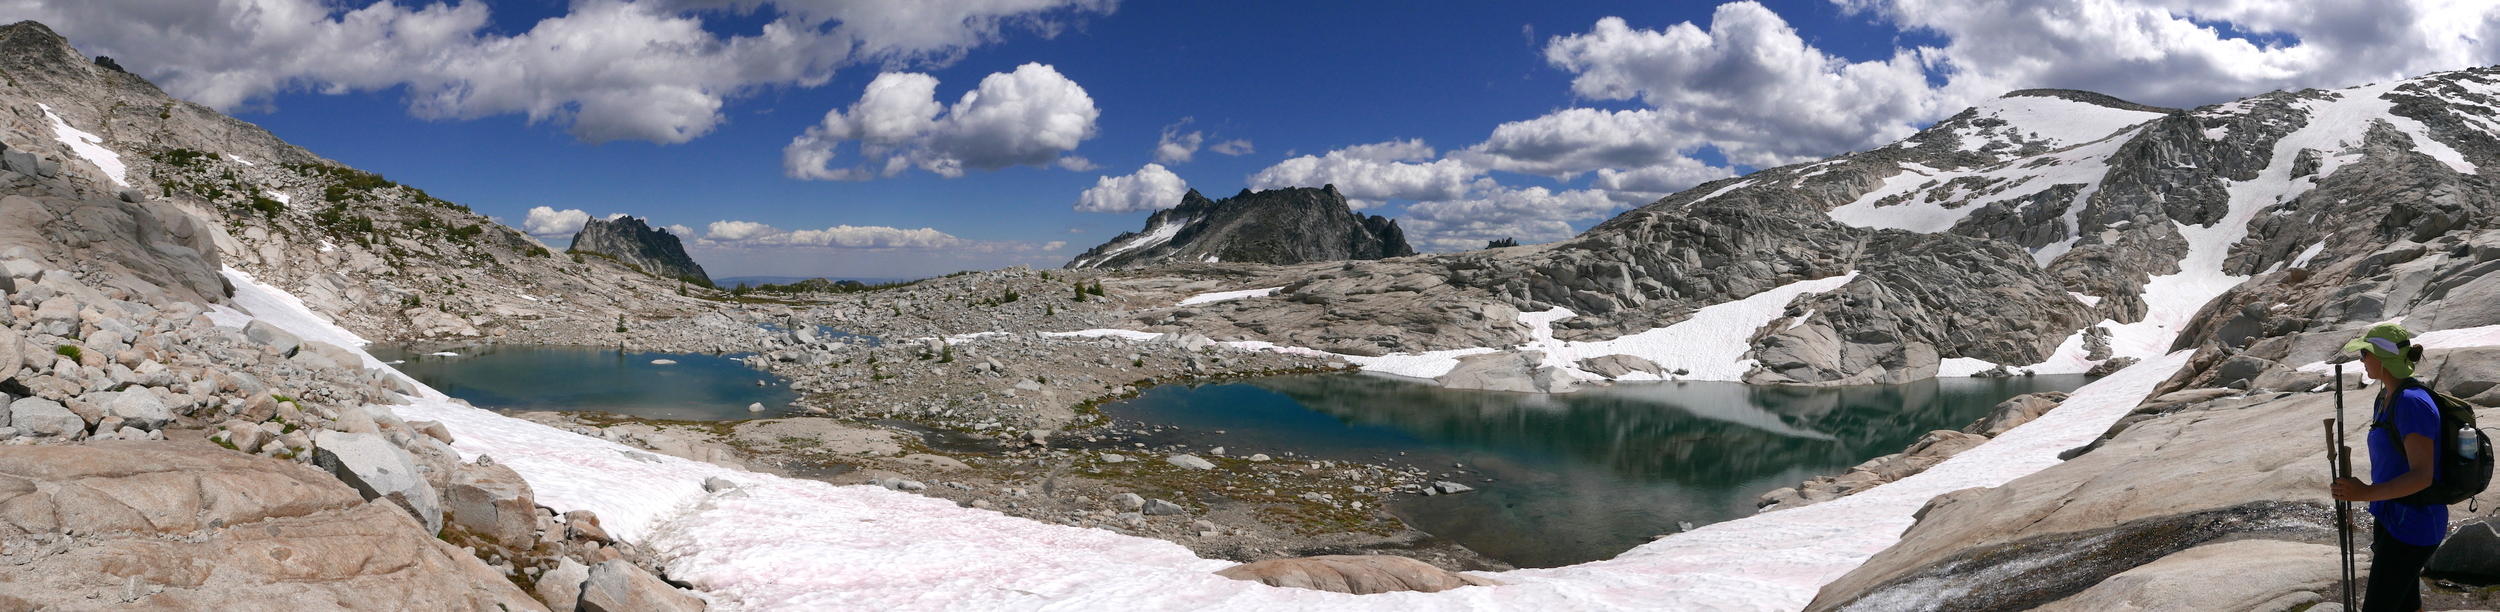
tiny packs for the Wonderland: SUL? stuff sack includes quilt, down sweater, booties, Hoodlum
In 2015, with a favorable weather forecast in hand, I fastpacked the Wonderland Trail in 3 days, and my base weight was under 5 pounds (SUL baby!); NeoAir Xlite, Borah Gear cuben bivy, 50 degree quilt, clothing, trekking poles and assundries, including camera gear. I remember putting my full pack(s) on a bathroom scale, with food and water, and it came in under 10 pounds. I even packed a ZPacks Pocket Tarp with stakes, just in case the weather changed. My pack was unnoticeable on my back (and front). What a difference compared to the Pasayten trip!
As I research and plan this season's trips, my mind goes to clothing and gear, not to weights. But I'll bet that even my toughest trip will not have me thinking about the load on my back, and not have me wondering if I can get my "base weight" down to UL or SUL; familiarity with my gear allows me to generally assess what I'll be carrying on my back without having to create a spreadsheet. Seems, without really thinking about it, I've replaced the SUL/UL terms with C (Comfortable) or RC (Relatively Comfortable) or even ID (It'll Do). And so it goes.